It's late on a Tuesday and your factory contact sends a message: the goods are packed, here's the balance invoice, please pay 70% so they can book the container. You pay it, because the launch date is close and the deposit is already sunk. Five weeks later your 3PL counts the cartons and two are missing, and the only lever you had left was the money you already sent. Nothing about that order was unusual. The process around it just let money move before anyone checked what it was paying for.
That process has a name, procure to pay, and every brand that buys inventory runs some version of it, written down or not. In this guide I'll walk through the stages as they actually happen when you import from overseas suppliers, the document each stage produces, who on a small team should own it, and the few checks that catch most mistakes. If you already know the process and want to compare tools for each stage, our guide to procure to pay software covers that, so this post sticks to how the process itself works.
A quick note on where SupplyAutomate fits so you can read the rest with that in mind. It keeps purchase orders, supplier documents, payment records, and shipment tracking together per order, and it costs $199 a month or $1,999 a year after a 14-day trial. It doesn't send payments or connect to your store, bank, or accounting software, so the money itself always moves through your own bank or payment app.
TL;DR
- The procure to pay process runs from spotting a need to paying the supplier and closing the order, and for an importer it usually has eight stages.
- Each stage leaves a document behind: a request, a quote or proforma invoice, a purchase order, payment records, a commercial invoice and packing list, freight and duty bills, and a receiving count.
- The three-way match compares the purchase order, what you received, and the supplier invoice before the last payment goes out, and it's the check that catches short shipments and price creep.
- Deposits and balance payments before shipment move money ahead of receiving, so importers need inspections, packing list checks, and supplier credits to make up for it.
- A shared spreadsheet and one folder per PO can run the whole process for a few orders a month, and software starts paying off once orders overlap and several people touch them.
What The Procure To Pay Process Covers
Procure to pay, often shortened to P2P, is the chain of steps between deciding you need to buy something and recording that the supplier has been paid. Textbooks describe it as requisition, approval, purchase order, receipt, invoice, and payment. Accounts payable is the back half of that chain, starting when the invoice arrives, so procure to pay is the wider process that also covers who decides to buy and what you agreed to before any invoice existed.
For an ecommerce brand buying from factories abroad, the same chain stretches out and splits into pieces. The order is large, it takes months, and it's usually paid in two or more installments, often before the goods have left the factory. Other vendors join halfway through, because a freight forwarder and a customs broker bill you for the same shipment. That's why a process designed for buying office supplies needs a few changes before it works for inventory headed to a warehouse, a 3PL, or Amazon FBA.
The Stages Of Procure To Pay For An Importer
Here's how I'd lay out the stages for a typical overseas order. Your own supplier might merge two of them or add one, but most orders I've seen follow this shape. Each stage below names the document it produces, because that document is what the next stage gets checked against.
1. Spot The Need And Raise A Request
The process starts when someone decides you need more stock. On a small team that's often the founder looking at a sales report, and on a slightly bigger one it's an operations person working from reorder points and lead times. The output is a request with the SKUs, rough quantities, target landed cost, and the date you need the goods available to sell.
Writing the request down sounds like overhead when it's one person deciding, but it's the record that later explains why you ordered 3,000 units instead of 2,000. If you sell on Shopify, our guide to turning Shopify reorder points into purchase orders shows one way to trigger this stage from stock levels.
2. Get A Quote And Agree Terms
Next you go to the supplier, or to several, with a request for quotation. The quote should pin down unit price, MOQ, packaging, lead time, payment terms, and the Incoterm, because the Incoterm decides which freight and duty costs are already in the price. Our RFQ template lists the fields worth asking for, and our guide to FOB vs EXW vs DDP for FBA sellers explains what each term leaves for you to pay.
Many factories answer with a proforma invoice, which is their formal quotation and the document they expect your deposit against. Read it line by line before you approve anything, since the proforma usually becomes the reference for every payment that follows.
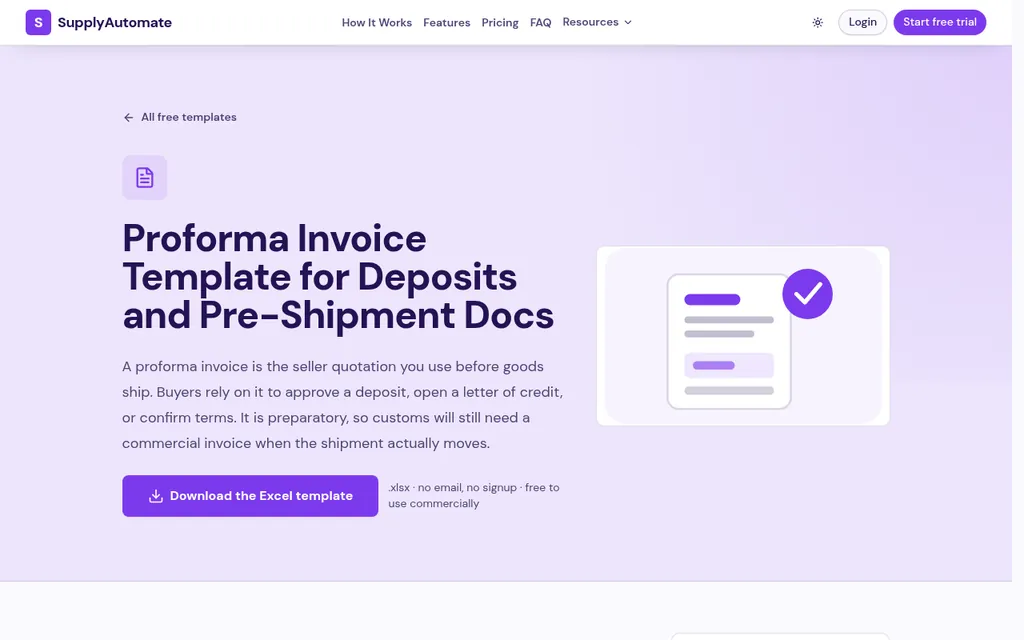
SupplyAutomate proforma invoice template, checked October 2026
3. Issue The Purchase Order
The purchase order is your side of the agreement. It repeats what the supplier quoted in your own words: SKUs, quantities, unit prices, currency, Incoterm, payment terms, ship date, delivery address, and packaging or labeling requirements like FNSKU labels for FBA. Ask the supplier to confirm it in writing, and make sure the PO number appears on their invoice, packing list, and carton markings, because that number is what ties the whole order together later.
If you don't have a standard PO yet, our guide to creating a purchase order covers the fields. The free purchase order creator builds a PDF with HS codes and Incoterms that you can send straight away.
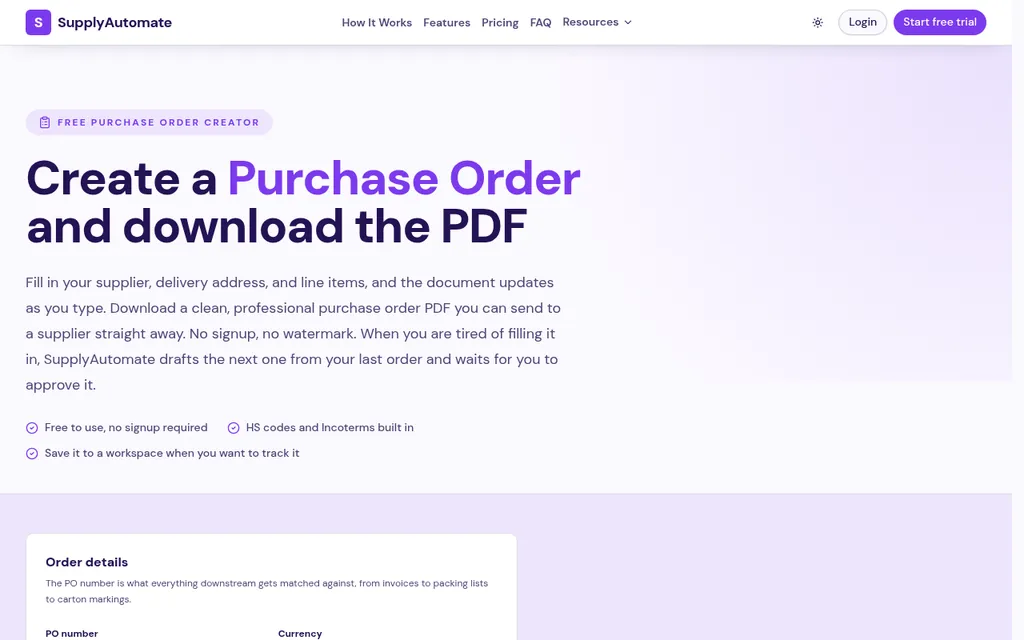
SupplyAutomate free purchase order creator, checked October 2026
4. Pay The Deposit
Most overseas factories won't start production until a deposit arrives, commonly 30% of the order value. Before you send it, check that the amount matches the payment terms on your PO and the proforma, that the bank details match the ones you have on file for that supplier, and that someone other than the person who requested the order has approved the payment. Record the payment against the PO with the date, amount, currency, and bank reference.
That last step is the one people skip, and it's the one you'll want in two months when the balance invoice shows a different deposit figure. Our guide to 30/70 payment terms with Chinese suppliers goes deeper on how the deposit and balance usually line up with production.
5. Track Production And Inspect Before The Balance
While the factory produces, your job is to keep the ship date honest and catch problems while they're still cheap to fix. That means checking in at agreed milestones and, for any order you can't afford to get wrong, booking a pre-shipment inspection before you pay the balance. The inspection report and the factory's draft packing list are your only look at the goods before the money goes.
When the balance invoice arrives, compare it with the PO, the proforma, the deposit you already paid, and the packing list. If the packing list shows fewer units than ordered, the balance should drop to match, and it's much easier to get that agreed now than after the goods have shipped.
6. Ship, Then Handle Freight And Duty Bills
Once the goods leave, the supplier sends the commercial invoice and final packing list, and new vendors start billing you. Your freight forwarder invoices for the ocean or air leg and local charges, and your customs broker invoices for duty and clearance fees. None of those appear on the supplier's invoice, but they belong to this order as much as the unit price does.
File each bill against the same PO as soon as it arrives. If they land in your accounting software as unrelated bills, your landed cost per unit quietly understates what the goods cost, and our guides to landed cost per unit and allocating freight across multiple SKUs show how to bring them back onto each product.
7. Receive The Goods And Run The Three-Way Match
When the shipment arrives, whoever receives it counts what came in and notes damage, whether that's your own warehouse, a 3PL receiving report, or the received quantities on an FBA shipment. That count is the receiving record, and it's the third leg of the three-way match. You compare the purchase order, the receiving record, and the supplier's commercial invoice line by line, and you hold anything that doesn't agree until someone explains it.
Our walkthrough on reconciling a supplier invoice to a purchase order shows the match step by step. If the factory shipped in two lots, our post on tracking partial shipments covers how to keep each lot straight.
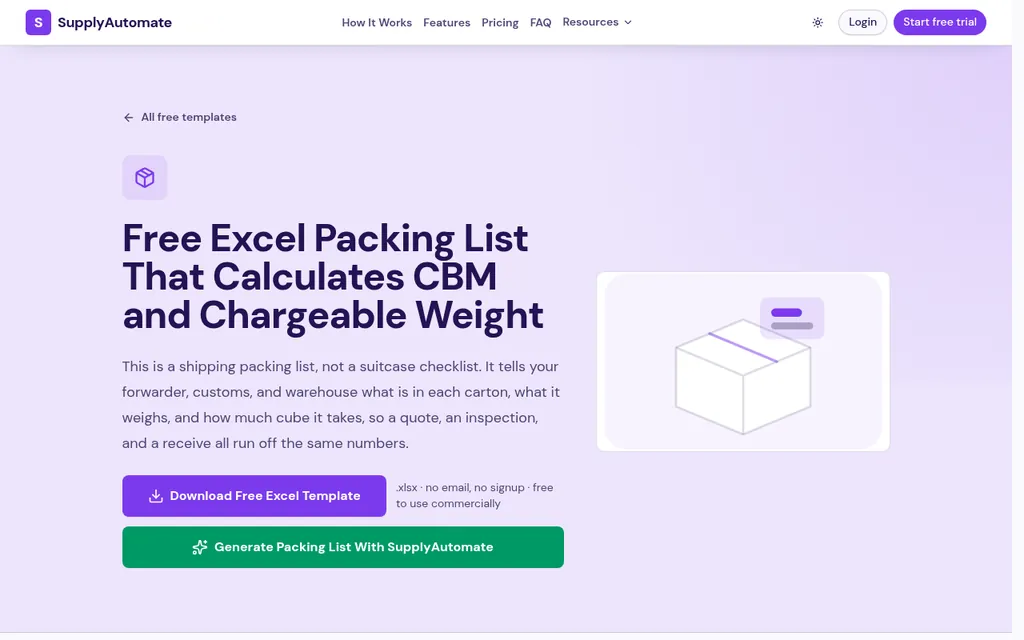
SupplyAutomate packing list template, checked October 2026
8. Settle, Close The Order, And Record Landed Cost
The last stage pays whatever is still owed and closes the PO. On terms like net 30 after delivery, this is where the main payment happens, and on 30/70 terms it's usually a supplier credit for shortages or defects to be applied to your next order. Write any agreed credit on the PO and on the supplier's record so it doesn't get lost between orders.
Closing the order also means locking in what each unit actually cost, from factory price, freight, duty, and samples. That number feeds your pricing and your next reorder decision, and our landed cost formula guide shows the math if you're doing it by hand.
The Documents At Each Stage
Laid out side by side, the paperwork makes the process easier to follow. Every stage hands a document to the next one, and the check at each step is mostly a comparison between two of them. Keep all of them in one place per PO and most disputes take minutes to settle.
| Stage | Main document | Who sends it | What you check it against |
|---|---|---|---|
| Request | Purchase request or reorder note | You | Sales, stock on hand, lead time |
| Quote | RFQ reply or proforma invoice | Supplier | Your RFQ, target landed cost |
| Order | Purchase order and supplier confirmation | You, confirmed by supplier | Proforma invoice |
| Deposit | Deposit invoice and payment record | Supplier, then you | PO payment terms, bank details on file |
| Balance | Balance invoice, inspection report, draft packing list | Supplier and inspector | PO, deposit paid, packed quantities |
| Shipping | Commercial invoice, packing list, bill of lading | Supplier | PO quantities and prices |
| Freight and duty | Freight bill, customs entry, duty invoice | Forwarder and broker | Quote from forwarder, commercial invoice value |
| Receiving | Receiving report or FBA received quantities | Warehouse, 3PL, or Amazon | Packing list and PO |
| Close | Credit note or final payment record | Supplier, then you | Three-way match result |
If any of these are new to you, our free packing list template and commercial invoice template show what a complete one looks like. Our guide to organizing supplier invoices has a simple folder and naming setup for keeping them per order.
Who Does What On A Small Team
Big companies split procure to pay across purchasing, receiving, and accounts payable so that no one person can order, receive, and pay for something alone. A two or three person brand can't staff that, but it can copy the idea. The rule I'd keep is simple: the person who approves a payment should not be the only person who checked what it's paying for.
In practice that often looks like this. The founder or buyer raises requests and negotiates quotes, an operations person or assistant issues POs, chases production, and files documents, and a bookkeeper approves payments after checking them against the PO and receiving record. Your forwarder, customs broker, and 3PL each own one document, and it helps to tell them exactly where to send it so it lands on the right order.
If nobody on your team has time for the middle of that list, our Outsourced Supply Chain Manager service runs purchase orders, shipment tracking, and supplier follow-up for you. Approving and sending payments stays with you, which keeps the split between checking and paying intact.
Controls That Catch Most Mistakes
You don't need a long policy to run procure to pay safely. A handful of checks, done every time, covers the mistakes that cost importers real money. Here are the ones I'd put in place first.
Three-way match before the final payment. Compare the PO, the receiving count, and the invoice for quantity and price, and agree a small tolerance for rounding so you aren't chasing cents. Anything outside it gets held until the supplier explains or credits it.
Payment approval by someone other than the requester. Even on a two-person team, a second pair of eyes on every supplier payment catches typos in amounts and payments against the wrong invoice. Set a threshold if you like, so small sample payments can go through with one approval.
Verify any change to supplier bank details. Requests to pay a new account are a common route for invoice fraud, and they often arrive looking exactly like the supplier's usual emails. Confirm any change by calling or messaging a contact you already know through a separate channel before you pay.
Check for duplicate invoices. Suppliers sometimes resend an invoice with a new date or a revised number, and it's easy to pay both. Look up the PO and the payments already recorded against it before approving anything.
Hold back what you can until you've checked the goods. When your terms allow it, keep part of the payment until after inspection or receiving. When they don't, use inspections and packing list checks to do the same job earlier.
Timing Deposits And Balance Payments With Overseas Suppliers
The textbook process assumes you receive goods first and pay later. Importers usually work the other way round, and that changes where the checks have to happen. Here are the payment terms you'll see most often and how each one shifts the process.
On 30% deposit and 70% balance before shipment, you pay most of the order before it leaves the factory, so the balance check leans on the inspection report and the packing list. A variation is 70% against a copy of the bill of lading, which gives you proof the goods have shipped before you pay. Some suppliers ask for 100% before shipment on small or first orders, which makes a pre-shipment inspection the only real control you have.
Terms like 30% deposit and 70% on delivery, or net 30 after delivery, put the three-way match back where it belongs, before the main payment. Our explainer on what net 30 means covers how those terms work. Whatever terms you have, put each due date on the PO when you issue it, so the deposit and balance show up as dated tasks you can see coming weeks ahead.
Running Procure To Pay With Spreadsheets
For a brand placing a few orders a month, a spreadsheet and a folder per PO can run this whole process. Microsoft Excel and Google Sheets both work, and Sheets makes it easier for your team, assistant, and bookkeeper to edit the same file. What matters is the structure.
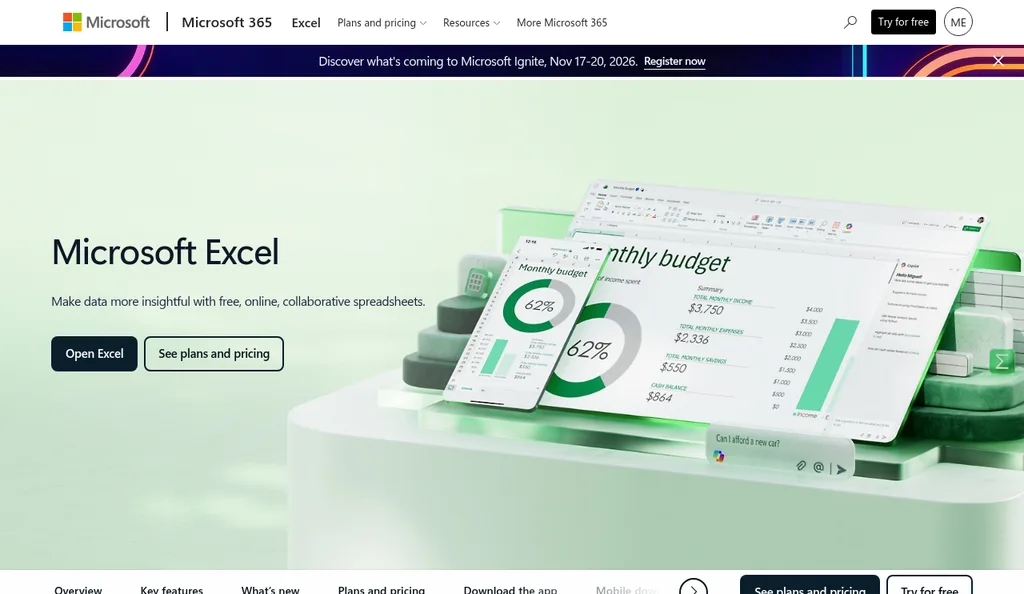
Microsoft Excel product page, checked October 2026
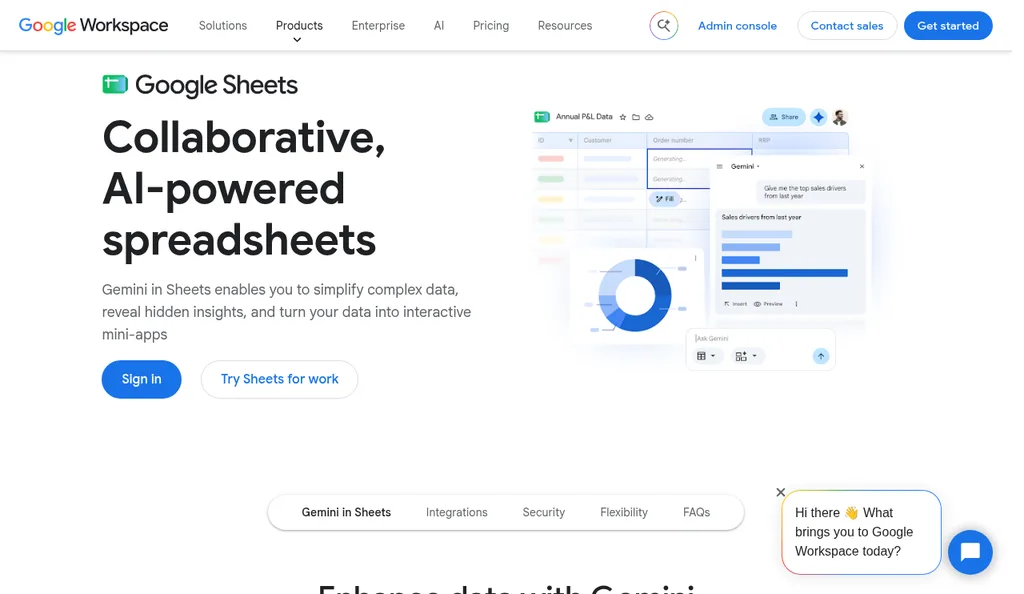
Google Sheets product page, checked October 2026
I'd use one row per PO with columns for supplier, PO number, order value, currency, payment terms, deposit due and paid, balance due and paid, ship date, ETA, received date, match result, and landed cost per unit. Next to the sheet, keep one folder per PO named with the PO number, holding the proforma, PO, payment confirmations, commercial invoice, packing list, freight bill, customs entry, and receiving report. Our purchase order template and landed cost spreadsheet template are free starting points.
The setup breaks down in predictable ways. Documents arrive by email, WhatsApp, and WeChat and don't make it into the folder, partial shipments need two rows that drift apart, and nobody notices a balance payment is overdue until the supplier asks. Our guide to moving from Excel to automated PO tracking covers when that friction is worth fixing.
When Software Starts To Make Sense
Software earns its place once orders overlap, more than one person touches each order, or freight and duty bills keep arriving after you've already priced the goods. At that point the work is mostly filing documents on the right order and remembering what's due, which is exactly what spreadsheets are bad at. Which tool to use depends on which stage hurts, and our procure to pay software guide maps the options stage by stage, from accounting software to AP tools and payment apps.
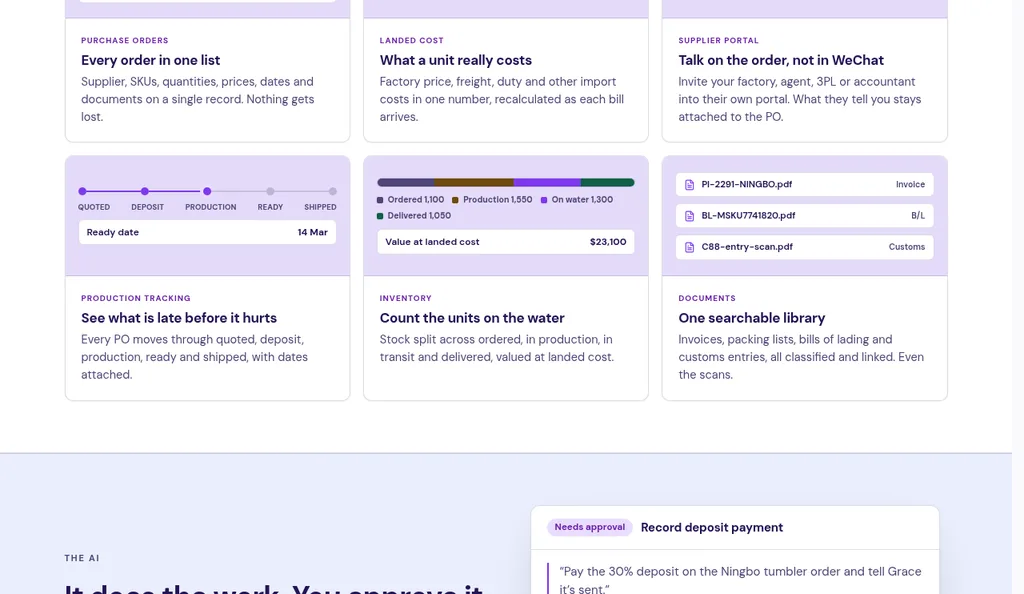
SupplyAutomate homepage production tracking feature, checked October 2026
SupplyAutomate covers the order and document side of the process. You set the payment terms and deposit percentage on each order, record deposit, balance, and sample payments with their due dates, and orders move through stages from quoted and deposit paid to production, in transit, and delivered, with overdue steps flagged. You upload the supplier invoice, packing list, freight bill, and customs entry, each one is filed on the right order, and an invoice is compared with the order's quantities and unit prices so differences show up before you pay.
It doesn't pay suppliers or connect to your store, bank, or accounting software, so you still send payments yourself and compare against your warehouse or 3PL count. Parcel and ocean container tracking shows where each shipment is, landed cost per unit is built from factory price, freight, duty, and samples, and everything exports to CSV or Excel for your bookkeeper. Our Shopify ERP and Amazon FBA ERP pages show how that fits each channel.
Frequently Asked Questions
What Are The Steps In The Procure To Pay Process?
The usual steps are a purchase request, approval, a purchase order, receiving the goods, matching the invoice to the PO and receipt, approving the invoice, and paying the supplier. For importers, the payment is often split into a deposit and a balance, and freight and duty bills from other vendors join the order before it closes.
What Is The Difference Between Procure To Pay And Purchase To Pay?
They're two names for the same process. Some companies say purchase to pay or P2P, and some reserve procurement for the sourcing and supplier selection that happens before the first purchase order.
What Is A Three-Way Match In Procure To Pay?
A three-way match compares the purchase order, the receiving record, and the supplier invoice before the invoice is paid. If quantities or prices disagree, the payment is held until the difference is explained or credited, which is how short shipments and price changes get caught.
How Do You Run Procure To Pay When You Pay The Supplier Before Receiving?
You move the checks earlier. Use a pre-shipment inspection and the factory's packing list to check the goods before the balance payment, ask for a bill of lading copy if your terms allow it, and turn any shortage found at receiving into a credit on your next order.
Who Should Approve Supplier Payments On A Small Team?
Ideally someone other than the person who requested the order and checked the goods, such as a bookkeeper or co-founder. If one person has to do both, have a second person review payments above a set amount and any request to change bank details.
Getting Your Own Process On Paper
Before you place your next order, I'd sit down for half an hour and write out your own version of this process. List each stage, the document it produces, who owns it, and where that document will live, then run the order through it and note where things slipped. Most brands find two or three gaps the first time, usually the deposit record, the freight bills, and the receiving count. Fixing those three gets you most of the way, and once that works you'll know exactly which stage, if any, needs software.
Related Guides
- Procure To Pay Software For Ecommerce Importers
- How To Reconcile A Supplier Invoice To A Purchase Order
- 30/70 Payment Terms With Chinese Suppliers Explained
- How To Create A Purchase Order For FBA And Shopify Imports
- Can Purchase Order Software Track Partial Shipments?
- Best Accounts Payable Automation Software For Ecommerce
- How To Organize Supplier Invoices By Purchase Order For Importers
- Procurement Software For Small Business Importers